

Yesterday I whipped up a little gift for a group of my sewing friends that I wanted to tell you about.
We often get together for a sew day or we like to go away together on sewing retreats...and we also like to exchange little gifts on retreat every now and then.
So anyhoo...this month we decided to extend our sew day into a week long sewing marathon!
There are 8 of us in our group and we are sewing at my friend Judy's house for the week.
We set up our machines and projects where we can leave them all week long.
We arrive early in the morning and stay until 10:00 PM and then we go home to get some beauty sleep so that we can
come back and start all over!
We all live within 20 minutes of each other.
We divided dinner duty and we
bring our own lunch.
I created a little something I call
"Love Handles" to gift everyone.
I got the idea from our last retreat we went on.....we all have featherweight sewing machines that we use when we retreat...
and as you know...
all of the cases are exactly the same.
Last time a few of us got our machines mixed up after loading and unloading them.
So I thought if I made a cute little handle out of different fabric for everyone that would solve the problem...so came the invention of Love Handles:)
I thought I would show you how I made them so you can make some too.
Not only are they handy for identifying your sewing machine...but they make your machine comfortable to carry because of the padding...and most of all...they make your sewing machine case extra cute!

They are easy to make and you only
need a few supplies and a
few minutes to make one.

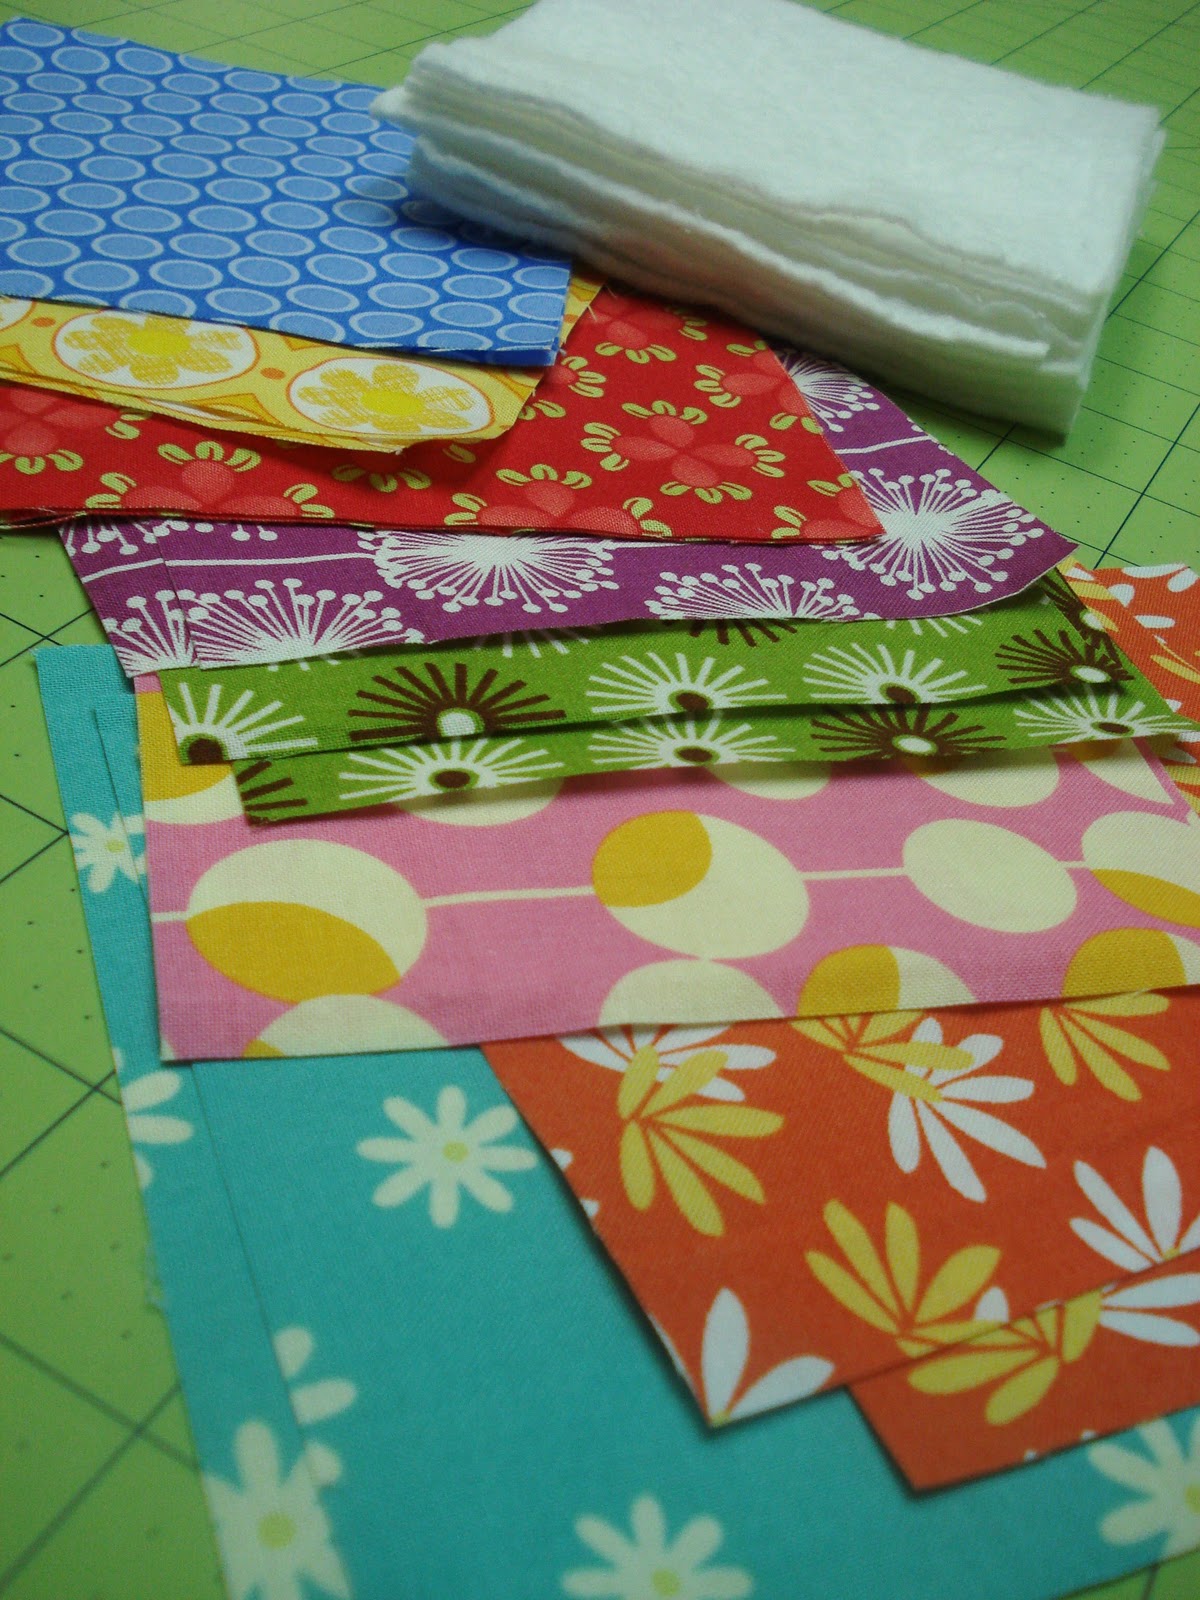
You will need...
2 - 5" x 5" squares of fabric
1 - 5" x 5" square of batting
4" of sew on hook and loop tape (velcro)

Place your fabric squares right sides together and add the batting on top.

Use a 1/4" seam allowance and sew around all edges leaving a 3" opening in
one end for turning.

Clip the corners to reduce bulk...

Turn right side out and turn under
opening seams 1/4" and press.

Like this.

Sew one half or the velcro on one side...

And the other half on the other side...

So that you can roll it up and
close it like this!

I made all 8 of mine in about an hour.
Fast and Easy.

Now we won't get our sewing machines
mixed up anymore!


These would also work great for luggage....
you would be able to identify yours
quickly and easily while traveling:)

Just wrap one around your handle for
comfort and cuteness!

I put each one in a little cellophane bag...

And added a tulle bow on the top.
Everyone picked the one that they wanted.
I hope you enjoyed my little tutorial
on how to make
"Love Handles"...
and I hope you make a few of your own!
Until next time my friends...
have a quilty kind of day:)
xx
Lori

38 comments:
Brilliant. These would also be awesome for luggage. I never think to do something to distinguish mine from all the other black luggage on the carousel until I'm standing in the airport, trying to figure out which suitcase is mine... :-)
Oh my word - ADORABLE!!! What a fantastic idea and it could be used for so many other things too (luggage, laptop cases....). I'm sure your friends loved them.
Thank you so much for the tutorial.
Oh my word - ADORABLE!!! What a fantastic idea and it could be used for so many other things too (luggage, laptop cases....). I'm sure your friends loved them.
Thank you so much for the tutorial.
I love this idea! and easy to spot my luggage at airports. Thanks for the wonderful tutorial.
well how cute is this I agree this would be great to make for my DD luggage so when she is coming home from college can find her luggage quickly at the airport!
great for my featherweight case too!
thanks for sharing !
Kathie
Cute idea, and practical too!
What a great idea.
Also the the sewing retreat, would love to do that with my sewing buddies.
You are so creative! I love your blog and look forward to anything you post. Great job!
I love this! I am going to make one for my sewing machine roller cart. Love that it it padded.
Great job!!!
I spent the entire post trying to figure out what you were going to make...genius! Love these little handmade goodies that add the extra special touch.
Smiles...Renee
What an original idea! Too cute :)
What an original idea! Too cute :)
What a wonderful idea!! I am off to my sewing room!!
Fantastic idea!!! I just sat down and made three in about 30 minutes, one for me & the other two for my best friends as a little treat when we meet for a quilty weekend. Thinking of making more for some of the guild members that have featherweights. Love the luggage idea too. Thanks!!!
super Lori :)
So cool...charm packs would work wonderfully! Now they need charm packs of batting...oh my, that sounds really lazy of me. ;o)
Those are fun! I'll bet they'll love them.
Those handles are such a good idea. So cute! Thanks for the tutorial!
Excellent idea Lori,,I'll be making some for luggage, thanks for sharing!
Excellent! I'll be making them for luggage, thanks for sharing :)
Super cute, very practical, and 'hand'y! Thanks for sharing this idea! I'm sure your friends are loving theirs.
So VERY VERY Cute!!!! And Great idea.... Now if only my LOVE handles were as Cute as this... :)
Nice way to show off your pretty fabrics too. I just Want/Need the Featherweight in the BOX to go with a "Love Handle" now! Do you have a favorite place to find them?
I LOVE your idea!! At first I was thinking of comfort when carrying your featherweight, but then I totally understood about identifying your case. What a wonderful friend you are!! I certainly wish I had a group of ladies to quilt with! Thank you so much for sharing! I'm going to make one for me!
This is something so useful, yet so simple to make. It's a great idea! Thanks so much.
Leslie S. in MN
esclante at comcast dot net
Cute Idea!
What a great idea! You are just sooooo sweet to share these wonderful tutorials with us! I really appreciate your generosity and just love reading your blog! Hugs!
Love your fabrics! I made a similar handle for my first grandchild's infant carrier a few years back. I used a double layer of batting. My daughter usually held the carrier on her forearm and she loved it.
Brenda in KY
Stinkin' Cute!!!!!!! Thanks so much for the inspiration!
I make fabric tags for luggage and anything else you can put them on and now I can make the fabric handles to match them! Too cute an idea! Thanks for sharing with others.
What a great little gift to give to your quilting friends!!!
Super Cute idea for easy ID! I will make 4 or 5 for my friends with featherweights!
Great Idea!
Pretty darn cute. I'm sure you'll have fun and they will LOVE them.
I love it. I'm hosting a sewing retreat in March. I like to have a sunrise every night. The ladies are going to love these. Thank you.
Those are pretty fabrics. I love the bright colors!
I love this idea for anything with a plain boring handle! How about making a matching pin cushion that you can sew onto a strap and wrap that around the side of the machine? It would be one more way to tell the machines apart. Thanks for sharing!
Thanks a lot for your tutorial!! perfection of picture!! I've made a link from my blog to your blog. I do love your work.
Post a Comment